Whether hunting, competing or in combat, shooting accuracy is critical. This is how one expert ensures it.
Story and Photos by Ash HessAsk five people what it takes to shoot well, and you will get seven different answers. Odds are high you will get three answers that have something to do with proper application of “the fundamentals.” It’s not that
these answers are wrong, but they are complicated answers to a simple problem. This isn’t saying it’s
easy, but simple. The reality is that there are two things and two things only that will result in a projectile landing at its intended destination. These truths came to me via the US Army Marksmanship Unit many years ago but in a downplayed manner. After a lot of research and testing, they went from hypothesis to law. They are:
1) Properly point the firearm (aim).
2) Fire the shot without disturbing the aim.

WITH THOSE PRINCIPLES in mind, this article is focused on the well-aimed shot. There are many factors that decide what that really means. The first two are target size and distance. A torso-sized target requires various levels of effort, depending on distance. At 3 yards, extraordinarily little aiming effort is needed, which is why point or instinct shooting can be fast and effective. That same target at 300 yards requires accounting for things like bullet drop and wind. The well-aimed shot takes all those things into account.
Changing the target size makes the required amount of aim increase or decrease. Getting a hit is different than getting an X ring hit. Just shooting a deer is not acceptable, as we are trying to get an effective and ethical hit. This means we must again account for the effects on the projectile from gravity and wind. Even at close range, aim must be applied to the smaller target – suddenly the sights on the pistol are a lot more important.
This is what I mean by a well-aimed shot. What this also means is that we are responsible for having a proper zero, having bullet drops that are true and tested, and the ability to call wind at distance. We are also responsible for accounting for things like height of the sights above the bore. Many hoods and barricades have bullet strikes due to this omission in knowledge.
Before we get into the process of data gathering, the next piece of the puzzle is you. You have two jobs when you are behind the firearm. The first is to apply the proper aim, and the next is building a position stable enough to hold that aim for the duration of the shot. The projectile will land wherever it is pointed when it leaves the barrel. We see this a lot with pistol shooters. If watching from the side, you can watch the pistol move as the trigger is pressed and – surprise – the bullet strikes low or left. That’s where the sights were when the gun fired. While not the focus of this article, having a quality shot process that is refined, tested and reliable is vital to performance. For now, though, we are going to assume you can fire the shot without disturbing the aim.
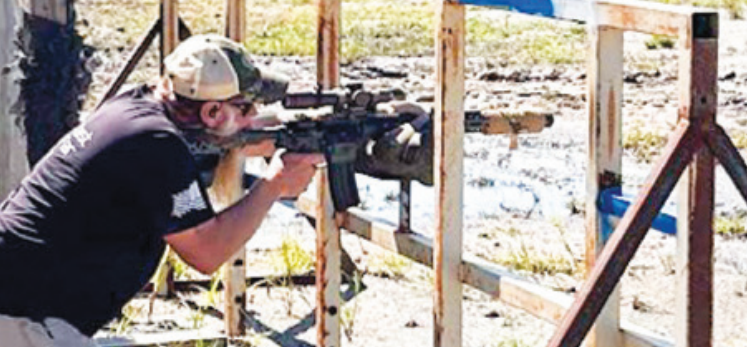
THE FIRST THING that any firearm should receive is a zero. Zeroing is the process of adjusting the sights so that the selected bullet strikes at the desired point of impact at a specific range. You should never put a firearm into a position of self-defense, hunting, competition, or anything for that matter, until you have completed this process. You literally have no idea where the projectile is going to land once fired. This is unacceptable.
The first step in a zero is some sort of boresight reference. There are tools available to aid in this procedure such as lasers or collimators. For years, though, looking down on the bore and then adjusting the sights to get them roughly lined up has been effective. Stability is important to this process. I use a tripod and lock the upper into it, then apply minimal pressure to rough align. A boresight is not a zero.
Once I boresight, then I live fire at the range. Stability is king. I see people zeroing from field positions
versus using a rest or bags. This is fine after you get the sights matched to the projectile, as things may change slightly in field positions, but take that out of the equation first. Removing that variable will save you time and let you see the capabilities of the system without you in the loop. Then you can see the effects of the other positions on that capability.
Next, decide a range that you want the point of aim to match the point of impact. For my personal guns, any unmagnified optic gets zeroed at 50 yards and magnified optics get zeroed at 100 yards. This is my near zero. The far zero is decided by many other factors, so ignore that for now. There is a ton of propaganda about near and far zeros, also known as the 50/200-yard zero, that I won’t get into except to say that they are only true for a specific firearm/ammunition at a specific altitude or accepting garbage data.
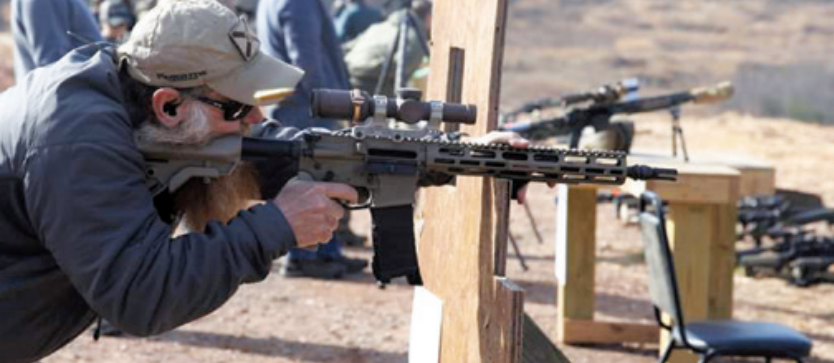
Targets matter at this point. You want to have a target that allows for extremely specific aiming. Remember, “aim small.” Personally, I use diamonds or squares and aim at the tip of the shape, not center of the shape. If you choose a target with a grid, make sure the measurement matches your optic in either MOA or mils. Otherwise, the grid is useless. Once the group is printed, adjust the sights to match the impacts. The smaller the group, the better the zero. Keep in mind that this zero is only true for the specific cartridge you are using. Switching brands, bullet weights, even lot numbers, will change where the bullet strikes. A few of you will accept the difference and still claim to have a zero. If you do, make sure you have a bit of brush between you and the target to blame that leaf for the miss.
THE BULLET WILL be lower than your sights out to zero distance, and then depending on the zero, higher or lower to a certain distance, then lower than your sights as the bullet slows and drops. For a well-aimed shot, you need to be able to predict exactly where the bullet will be in flight compared to your sights. In the past this required shooting at those distances and data gathering. It was expensive and time-consuming. We now have computers in our pocket and applications that do math for us. They need some inputs, like zero distance, bullet type and speed. This means we need to get the bullet velocity at some point in our zero session. There are many diverse types of chronographs out there for many different budgets. They will pay for themselves in a couple of range sessions, so make the investment.
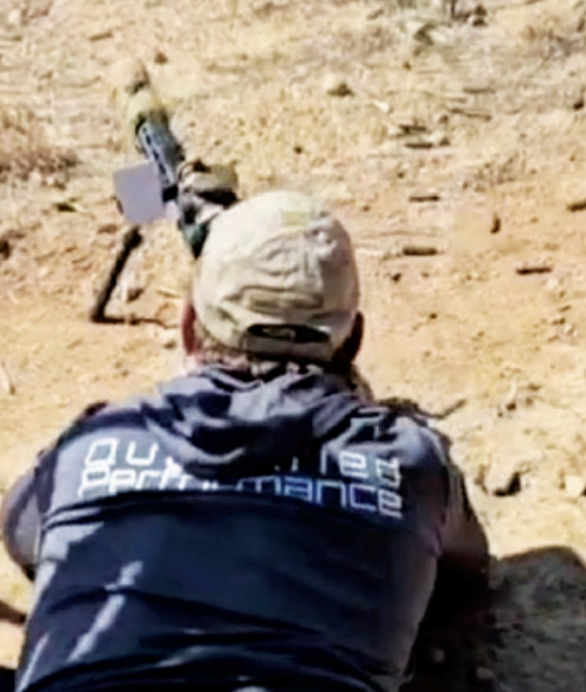
At this point, the calculator will start spitting out data. The next step is to do what long-range shooters or snipers call “truing.” This is simply shooting the supplied data and verifying its accuracy. If you put reliable data in, you will probably get reliable data out. We are almost there, so stay with me just a bit longer. Our calculator will also be able to predict the effects of wind on the projectile at this point. We still need to call the wind. This starts easy and gets harder. First is direction of wind, followed by velocity. This isn’t the time to be vague. Championship-level competitors are calling wind speed down to the mile per hour. Left-to-right wind between 5 and 10 mph isn’t going to cut it. Your wind call should be something like, “From the 10 o’clock at 7 mph.” This needs practice and effort applied long before the shooting event.
NOW WE ARE finally ready for a well-aimed shot at distance. We have our zeroed rifle, a true ballistic calculation for wind and gravity, and the adjusted aim point based off that calculation. All we need to do now is press the trigger on that aim point and hold it there long enough for the bullet to accelerate and leave the muzzle. Target size, target distance, our capability, effect on target and time will affect how much fidelity is needed for this. You are accountable for any projectile you put into flight until it lands safely. Winning a match, ethical kills on animals and combat all require the ability to send well-aimed shots downrange.
Editor’s note: Ash Hess is a highly seasoned combat veteran of 22 years with four combat deployments to Afghanistan and Iraq, totaling 52 months. His military training includes the US Army Master Marksman Trainer course, as well as rifle marksman instructor, urban combat leaders’, senior leaders’, army basic instructor, high-angle marksman and unit armor courses. He also wrote TC3- 22.9, the Army’s marksmanship manual.


